Welcome to Kate's Blog!
Check back frequently for the latest updates and designs.
Checking Sleeve Length
Sleeve length is a relatively easy modification for most sweater patterns and it can make a world of difference in your overall fit! In my Tailoring course, I hear so often that knitters struggle with either too short or too long sleeves when they knit according to pattern. This is totally normal because not only are our bodies varied in arm lengths, the style and fit of the sweater you are knitting will determine the underarm sleeve length. So, even if you measure your actual arm length, the fit of the other pieces of the sweater will change what the finished sleeve measurement needs to be! A little bit of math and planning before you knit the sleeves can solve your personal sweater puzzle. Try the following steps before you knit you sweater to check the sleeve length and adjust it as needed. A worksheet is also provided at the bottom of this page to help you plug in all the numbers.
Have a partner measure your Back Neck-to-Cuff by holding a tape measure at the nape of your neck and running it all the way down to your wrist, where you want your sleeve to end. Slightly bend your elbow. Jot that number down. It will be used in Step 3 of the worksheet.
Now that you have this measurement, look to the pattern schematic to find the relevant dimensions that add up to this measurement. They will be different depending on the style of the garment. For example, look for numbers for the Back Neck, Shoulder Width (important for Drop Shoulder designs like Flutter), Armhole Depth or Yoke and Sleeve Length. Record these numbers in the appropriate slots in the worksheet below.
Calculate the patterned Back Neck-to-Cuff by adding together 1/2 of the Back Neck, plus the other relevant measurements.
Compare your actual measurement to what is on the pattern. If the pattern gives you a longer number, this means you might want a shorter sleeve. If the pattern gives you a smaller number, you will want to add length.
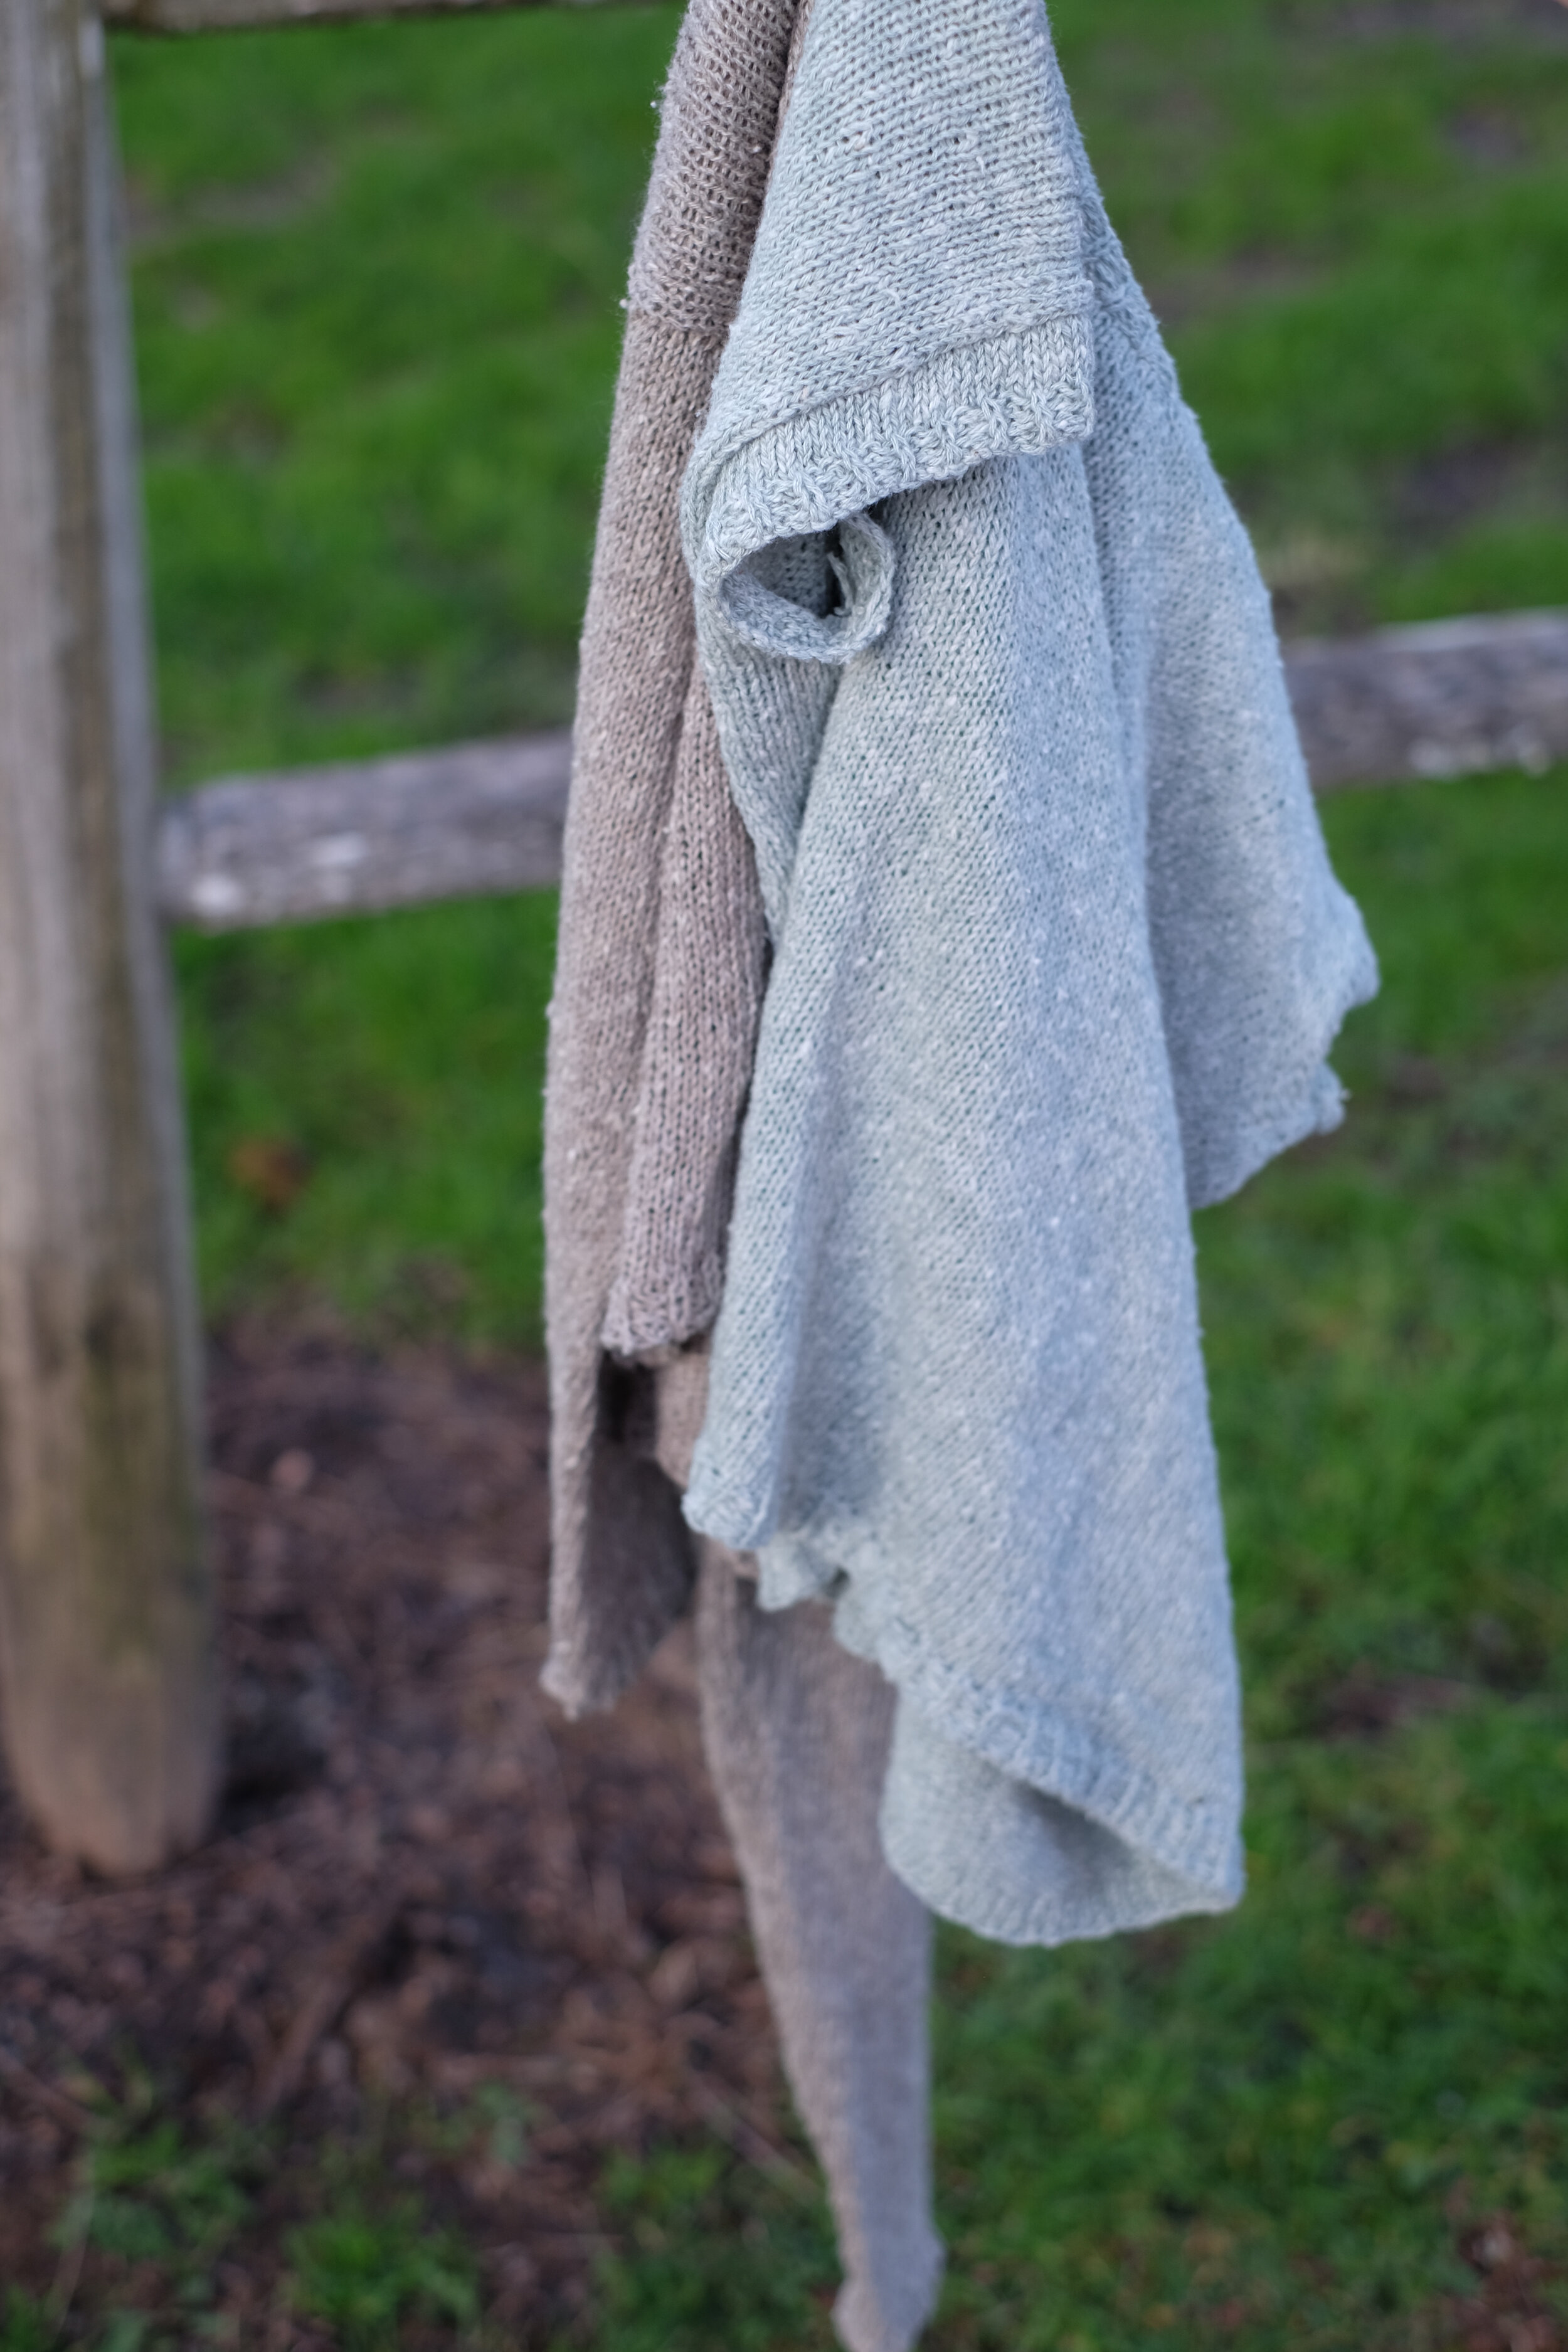
To help you visualize this, here is a specific example from the Flutter design. Size 3 was the right size for me (unmodified and shown in my images) but if I wanted to knit a more fitted version, here are the numbers for a Size 2 pulled directly from the schematic:
Back Neck = 6.75"
Shoulder Width = 6.75"
Sleeve Length = 13"
Patterned Back Neck-to-Cuff = 6.75" / 2 + 6.75" + 13" = 23.125"
My personal Back Neck-to-Cuff Measurement = 30"
Difference = 30" - 23.125" = 6.875"
Click here for a downloadable version of the worksheet below, so that you can get the perfect Sleeve Length every time!
conclusions
You can see that if I were to knit a size down (which has significantly less ease than how the sweater was originally designed) I would need to add a lot of sleeve length! A sweater with a large amount of positive ease will result in needing a shorter sleeve length when compared to a more fitted sweater, because your sleeve begins further out from the body. Each sweater design has many pieces that all work together for a good fit, so if you're knitting a sweater with less positive ease (or more) than what is shown, you'll need to make adjustments accordingly.
If you do need to add length, you will want to do it at the top of the sleeve. If you need to remove length, you might need to space increases/decreases closer together in order to achieve the same measurement on your wrist before running out of room in your desired length. Or, if there is unshaped length at the top of the Sleeve already, you can knit this portion shorter. If you’re interested in learning more about how to tailor-fit a sweater for you, be on the looking for my Tailoring Course which is offered virtually every so often. Join this list to be notified when virtual courses are offered. You can also check this page to see if there’s a currently scheduled course.
Enjoyed this tutorial? Consider a donation to help me continue creating tutorials for knitters!
Calculating Extra Yardage
Sometimes, you might want to add length to a design. Whether it is in the body or the sleeves, use this simple worksheet to estimate the extra yarn you want to have on hand for your desired length. Before beginning this worksheet, you should have a finished swatch in your chosen yarn, the ball band information for your yarn providing the yardage (or meterage) in a skein and the weight in grams along with the finished circumference/width of the area where you would like to add length. For sleeves, I recommend using the Upper Arm measurement. For Body Length, use the Chest or Hip Circumference measurement depending on where you are making modifications. You will also need a scale that can accurately measure the weight of your swatch in grams, such as a postage or kitchen scale. Be sure to use the same units of measurement throughout the worksheet. Click the “printable worksheet” button below to download this worksheet so you can scribble all over it!
Note: In standard math practice, parentheses () are used to indicate multiplication. In this worksheet, my examples include notation for Metric conversions as an alternative style of calculation. Choose either Metric or English Standard length measurements instead of multiplying.
Step 1
Calculate the total area of your swatch.
A ____ total width of your swatch
B ____ total length of your swatch
A x B = ____ C
The variable C describes the area of your swatch.
Step 2
Calculate the total yarn length used in your swatch.
D ____ total weight of your swatch in grams
E ____ Using the information on your ball band, divide the total yarn length on the skein by the weight in grams, ignore the ounce measurement as it is less precise.
Example: If there are 200 yards (183 meters) in a 50 gram skein, you will know that every gram is equal to 200 (183 meters) / 50 = 4 yards (3.66 meters) per gram.
D x E = ____ F
The variable F describes the total yarn length used in your swatch.
Step 3
Determine the yardage (meterage) per square inch (cm).
F / C = G ____ yardage (meterage) in one square inch (cm)
Step 4
Calculate the area of the length added to the design.
H = ____ finished circumference
I = ____ desired length addition
H x I = ____ J
The variable J is the total area that you desire to add to the design. For Sleeves, make sure to account for both sleeves (multiply your result by two).
Example: Your Finished Chest measures 50" (127 cm) and you desire to add 2" (5 cm). Multiply 50" (127 cm) x 2" (5 cm) for a total area of 100" (635 cm).
Step 5
The end!
J x G = ____ K
The variable K describes the total yardage you will need to add to the pattern's recommendation, based on your actual gauge and yarn choice!
This is an estimate and as such, I always recommend that you round up.
Planning ahead, ahead.
So, you're trying to order all your yarn at once and therefore haven't swatched yet as instructed in this worksheet.
In this case, you will want to see if you have anything in your stash that is a similar weight and fiber content to what you're planning to purchase. You can use this for swatching, but give yourself a little cushion just in case there are unique properties of your to-be-ordered yarn that you aren't capturing in your sample swatch.
Alternatively, you can use the schematic provided in your pattern to calculate an estimated total area of the garment (similarly to Step 1 of this worksheet), and replace F from Step 2 with the pattern's yardage/meterage recommendations.
Enjoyed this tutorial? Consider a donation to help me continue to create tutorials for knitters! Thank you so much!


